
First off, I have been meaning to make cake pops ever since Bakerella was on Martha Stewart with them. Seriously, it’s been that long! Actually, it was those mini cupcake looking cake pops that first got me interested in them. I have the cutter, I’ve had it for a few years, but I just haven’t taken the time to make them yet. They seem a little…well, time consuming. Not sure if I have the patience for it.
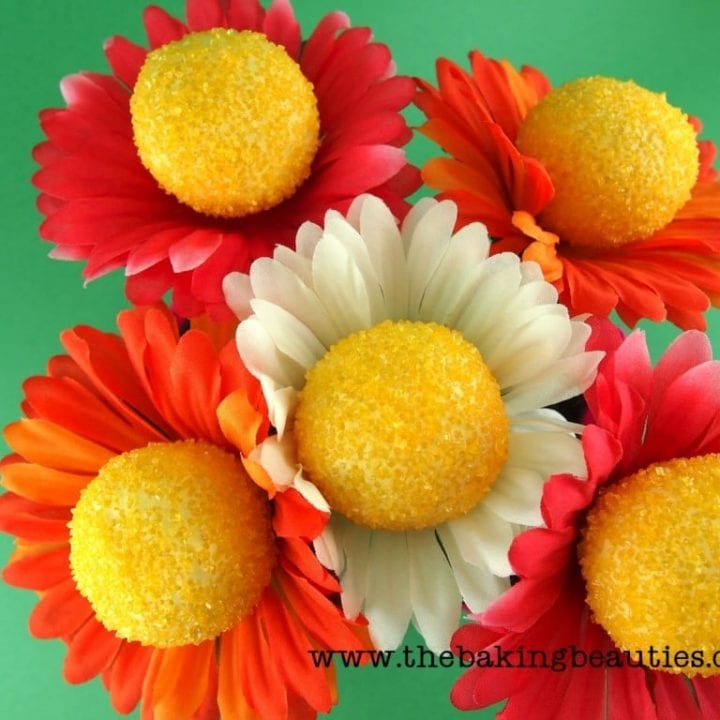
But, I did finally get around to making some cake pops. And yes, these are gluten-free. Aren’t they cute? I made them for the last day of school. The beginning of our summer freedom. Hot days splashing in the pool or coloing off under the sprinkler. Staying up late(r). Camping. Gardening. Trips to the library. Hanging out with neighbor kids. Sleepover at Grandparent’s house. It’s all so much better in summer. Ah…I love summer – And gluten-free cake pops.

So, here are some very basic instructions on how I made them. I am no professional, I merely a Mom that wanted to have a fun summery snack for her kids.
Gluten-Free Cake Pops!
Ingredients
- You will need one 9x13-inch cake. I used url href="https://www.faithfullyglutenfree.com/2008/06/gluten-free-chocolate-cupcakes.html"]THIS chocolate cake[/url, it worked AMAZING. I love this recipe from GingerLemonGirl
- I used one container of chocolate frosting. You know, just the Betty Crocker frosting you can buy in the store. Read your labels. The one I bought was fine (and delicious!).
- Once your cake is baked and cooled, cut it up and rub the pieces against each other over a large bowl, making crumbs. If any big crumbs get through, just go through them with your fingers to break them all up into small crumbs.
- Stir the entire container of frosting into the cake crumbs (don't taste test too much of your frosting, you need the whole thing. Unless you eat it with a piece of cake maybe?).
- Once the frosting is well blended into the crumbs, create balls of cake that are about the size of a ping pong ball (what did they use to measure things that size before ping pong balls??). Roll the cake into a nice even ball and place on a wax paper or parchment lined baking sheet. Place cake balls in the fridge for at least 2 hours.
- You will also need:
- About 4 cups of moulding wafers. Those are the coloured "disks" that you can buy for making your own moulded candy (can't call it chocolate, because it isn't actually chocolate in the proper sense).
- Approximately 40 longer lollipop sticks (not the tiny ones, these were slightly larger, I think they were called cookie sticks).
- Miscellaneous sparkly sugars, small sprinkles, chopped nuts or candy, etc, to decorate the outside of the cake pop with before the 'chocolate' hardens. This is, however, optional.
- A piece of Styrofoam for you to stick the lollipop stick into until the chocolate has hardened.
- Melt your moulding wafers (I got mine at Bulk Barn, I wish they would pay me to say that) in 30 second intervals in the microwave, stirring in between. I placed my melted wafers into a deep, wide glass, that way I could have it be 3-inches deep, but only 3-inches wide.
Instructions
Now, if you’ve accomplished the simple, round, sprinkled version, maybe you should move up to the more advanced decorating. It is absolutely AMAZING what some people can do with a little cake, frosting and moulding wafers. Unreal!
You can also watch Angie make Cake Pops on Youtube afterall, a picture is worth a thousand words.

The Gluten-free 'Dish' says
You are amazing, girl! I think you have more patience than I do to make these. 😉 They are beautiful!!
Sarah says
These are gorgeous! That is one lucky person to get such a beautiful flowering bouquet!
Laureen says
Hi Jeanine, your cake pops are so adorable. I've always look longingly at the cake pops I see in bakeries and coffee shops but I've never been able to try them because of the gluten…now I can have my cake pops and eat em too…haha
Thanks for sharing!
Laureen
Jeanine - The Baking Beauties says
Thanks, everyone!
These really didn't take too long to make, and they can easily be made the day (or two) ahead, because the cake will not dry out, it's coated in chocolate! 🙂
Thank you, Sarah, I hope she enjoyed them.
Thanks, Laureen! Definitely give some a try, they are actually pretty easy to make (and way bigger than the Starbucks ones too). 😉
Eliana says
Awwww – these cake pops are some of the cutest I have ever seen. And they look super delicious too.
Jeanine - The Baking Beauties says
@Eliana, Thank you, Eliana! 🙂
Angie Halten says
Adorable! Cake on a stick – it just can’t get any better!